All Things Paper & DIY
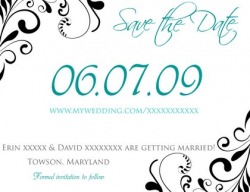
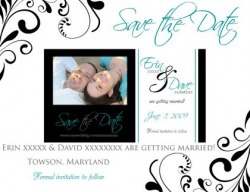
Save the Dates
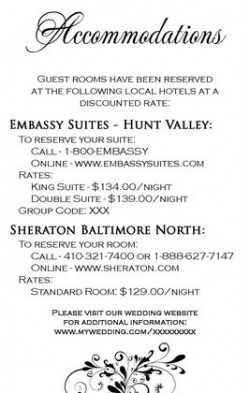
This was my first DIY attempt and it got me addicted to designing all of my own paper products as well as Vistaprint! I ordered postcards and the business card sized magnets from VP. I used Removable Zots to adhere the magnet to the postcard. I mailed them in envelopes to make sure they stayed together. On the back I printed the hotel block information for any OOT guests looking for a hotel!
Invitations
I spent so many hours on these it was insane. But in the end I love the product I got and so many of my guests called me to tell me how much they loved the invitations!
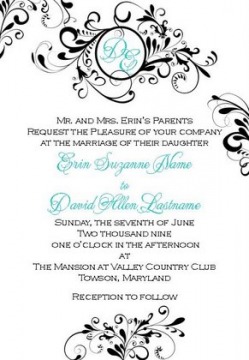
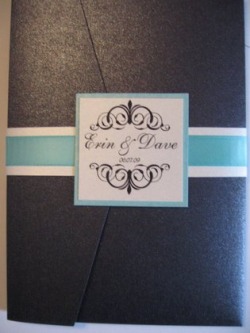
The FINAL product....

How I made them....
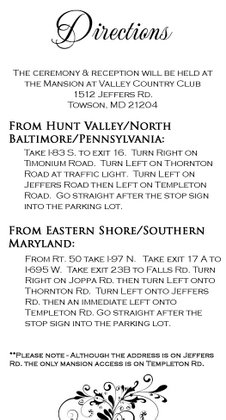
- Purchased Pocketfolders from Cardsandpockets.com... I found them on sale for 78 cents each, WORTH IT! The paper all came from that site as well... I used Pearl for the printed invites/inserts and Tiffany for the backing. Before you order the paper just remember it will not print on an inkjet printer and b/c of the thickness of the cardstock it even jammed in most of the laser printers I tried.
- Created the design in Photoshop... the fonts I used were Copperplate Gothic Light for the block lettering and MeaCulpa for our names
- Lucked out and found a printer who actually print and cut my invites for *free*... that saved me a ton of time!
- Belly Bands - I used the extra pearl metallic paper I had left from our invites to make a 1" x 10" strip... using Duck Adhesive (rolling tape/glue) I adhered 5/8" tiffany blue ribbon... then stuck our monogram on top of the ends of the strip (2 1/4" blue square with a 2" monogram square on top).
- To adhere the invite to the pocketfolder I found that good old double stick tape (permanent) worked the best! The duck Adhesive wasn't bad but it didn't stick as tightly as the double stick tape did.
- Page me if you have any questions on DIY invites!
Place cards & Table Numbers
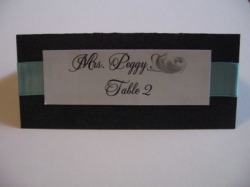
I stole this look from knottie SarahKate31

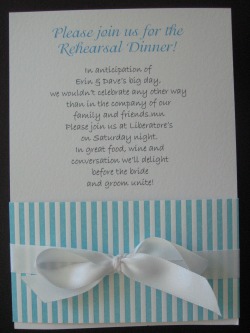
RD Invites